Phormiums are perennial plants, grown for their architectural sword-shaped leaves. In this article we will learn, step by step, how to divide Phormium (New Zealand Flax).
These plants are known as New Zealand flax and like full sun positions planted in moist but well-draining soils. Phormiums are frost-resistant plants.
They form masses and stand out as a focal point in a border and are great plants for coastal or exposed gardens.
In this article
What can I do with overgrown Phormium?
Over the years, phormium tufts become denser and often need to be lifted, divided and replanted to gain new vigor. At that moment you will have lots of new plants that you can plant in other areas of the garden or offer to neighbors and friends.
In this guide, I will demonstrate how to do multiple divisions and get new plants. I’m going to use a phormium that I bought recently and it’s growing really tight in a pot.

I will take the opportunity to make many new plants to later create a better effect in the garden using repetition.
Can New Zealand flax be split?
Yes, it can. I’m dividing Phormium tenax ‘Sundowner’, but the same technique can be applied to other forms, such as Phormium ‘Pink Stripe’, Phromium ‘Purpureum’ or Phormium ‘Variegatum’, just to name a few.

If replanting the divisions directly into the garden, prepare the soil by lightening it and adding a little slow-release fertilizer or organic matter.
In this case, I will plant the small divisions in pots to strengthen them before planting them in the final location.
When can I divide a Phormium?
The best time to divide Phormium is early spring. By this time, the plants will quickly regrow. Alternatively they can be divided in autumn.
Dividing Phormium tenax ‘Sundowner’
First I remove the plant from the pot. It’s not easy, given the volume of roots that have already completely filled the pot.

The plant is very tight. I chose this specimen for its size and because I realized that I would be able to make several plants from a single pot.
This is also a way to get free plants or plants on a budget, when you go to a garden center, look for these types of specimens, which can be splited.
Then, with the help of a saw, I separate and divide the plants into several smaller ones. This plant is being difficult to split. It has the roots completely compacted in the pot.

First I cut it in half, and then it’s easier to work each half.

You will be able to easily see the individual plants and where to cut. Each base where the leaves come together is the center of a potential new individual plant.

You just need to separate them in a way that each piece brings roots attached. The more roots each division has, the better chance the plant will survive and grow quickly.
Plant each division
After separating each division, it’s time to plant them. I will plant in individual pots.
Before that, I cut the old leaves to reduce the roots’ need for water. This will also ensure that each plant is less exposed to the wind, and will not be disturbed until the roots are well established in the soil.
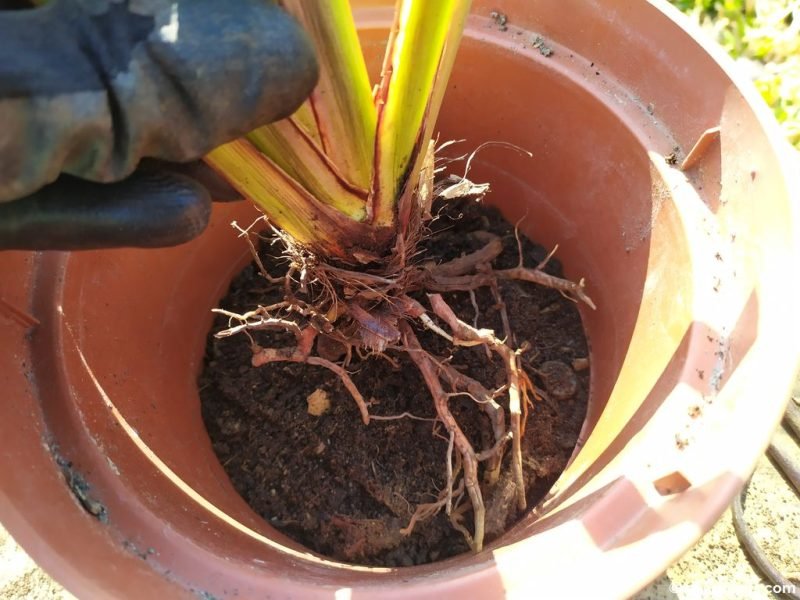
I fill the pot halfway with compost, place the plant and top it off with soil all the way around.
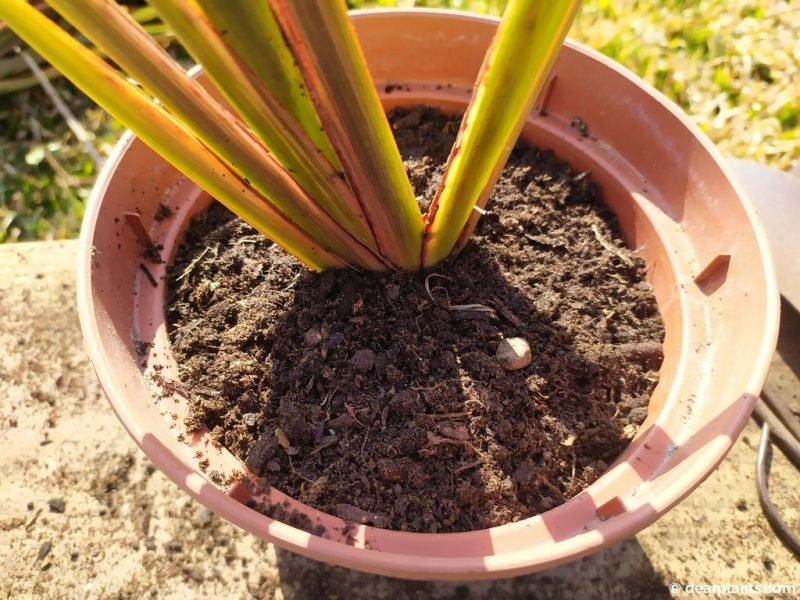
I slightly compact the soil, just to make sure the plant is firmly in the pot.
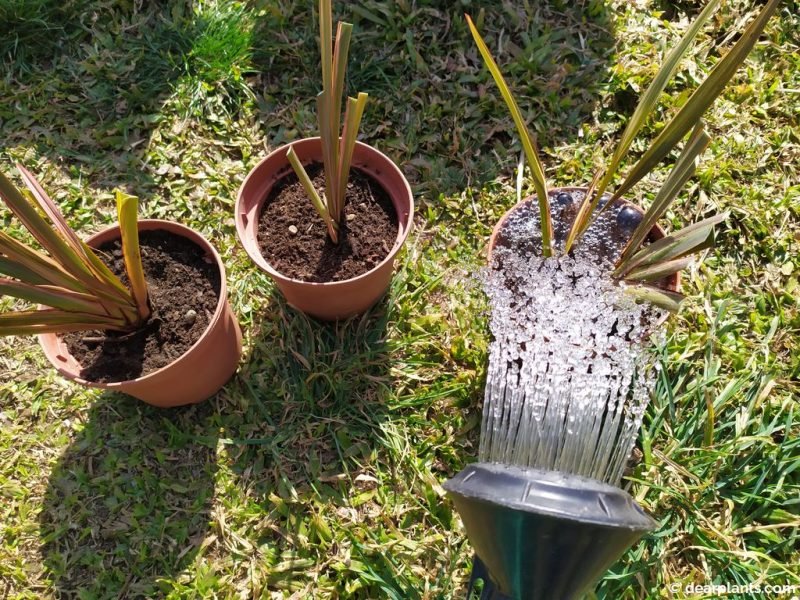
Finally, I water well and put them in a sheltered place until they show signs of growth.
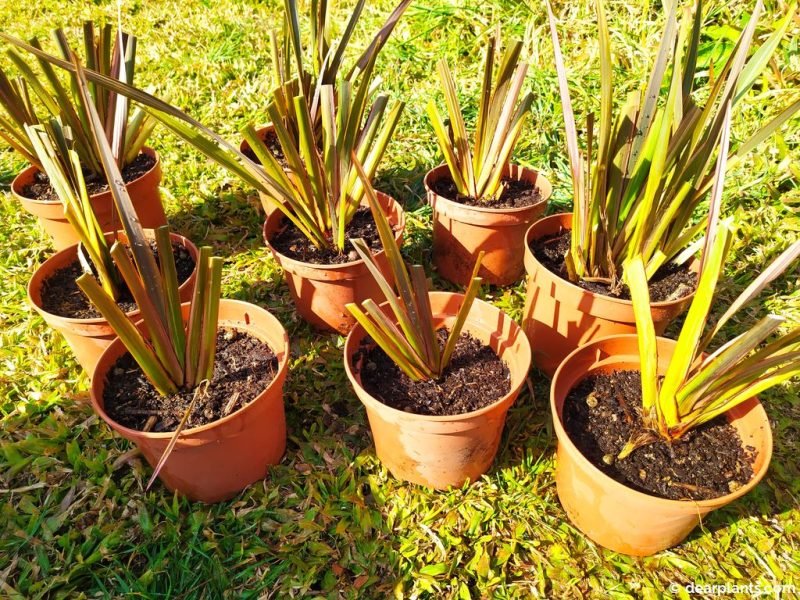
From there, they can be slowly fertilized and placed in sunnier locations.