In this article, we will learn step by step how to grow China Aster (Callistephus chinensis) from seed.
China asters are fast-growing, bushy annuals. There are several cultivars that grow in different sizes and produce different flowers. Mid-green leaves are ovate to triangular, coarsely toothed, to 8cm (3in) long.
The 7–12cm (3–5in) flowers are chrysanthemum-like, in a wide color range, including pink, red, blue and white. They flower from late summer to autumn. These are excellent cut flowers.
Although many annuals can be sown directly in the garden, sowing early seeding in a sheltered location gives the plants an advance in growth and a more assured germination that generally produces better results.
China Aster seeds are better sown in trays and kept at good temperature in a greenhouse, cold frame or even inside in a sunny window sill.
You can buy Callistephus chinensis seeds in garden centers, in supermarkets or online. Check the package to see if the seeds are within expiration date and if it is sealed and in good condition. If you need to store seeds for some time, do so in a cool, dry place. A refrigerator is perfect for it.
China Aster seeds are small, they look like grass seeds but they are easily handled to sow in a tray.
When to sow
China asters can be sown from late winter to mid spring. You can start them earlier in a sheltered place. Keep in mind they will need to be protected until the last frost has passed.
How to sow
Fill the tray with good quality seed compost adding some grit for good drainage. Leave some space below the pot edge. Lightly press the soil to make it firmer.

Distribute the seeds in the tray. Do not sow too much tighter.

Then lightly cover the seeds with more soil. Water the tray with a fine-grained watering can or dip the tray in a bucket of water so it is absorbed from bottom-up.
You can cover the seed tray and keep it protected to improve germination. A temperature of 20 to 23ºC is ideal for the germination to occur.

The seeds germinate easily and will be transplanted later to individual pots.
How to plant
When the seeds have already developed some leaves, it is time to plant them individually. In the picture below, the seedlings are ready to be replanted individually and allowed to grow more before plant in final place. Hold them by the leaves and with the help of a stick, free the roots and take the little plant.
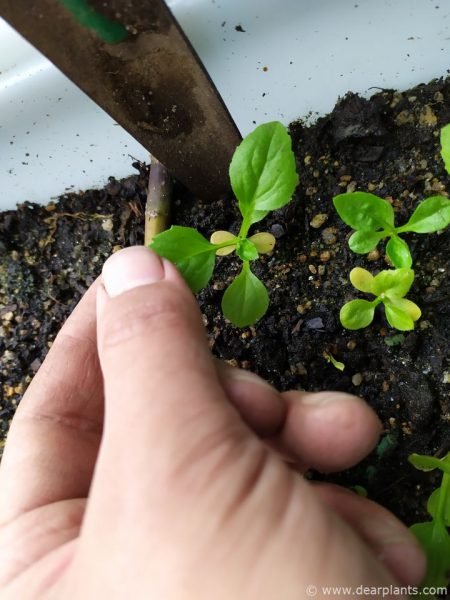
It is well developed, has good roots and is a good little plant. 7 weeks passed between sowing and the picture below.
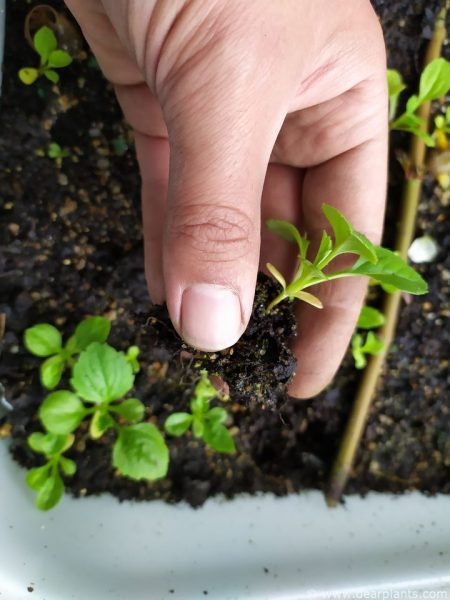
Plant them individually in small pots…
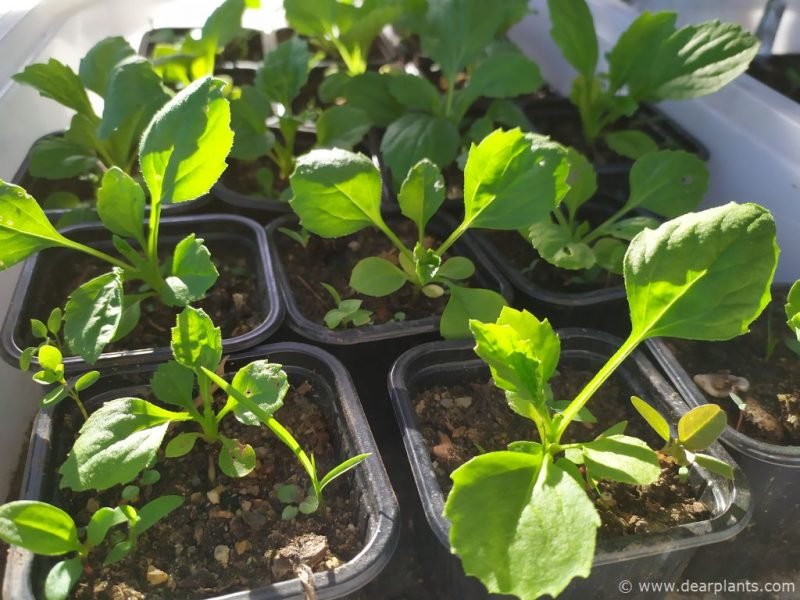
And let them grow for some more weeks.
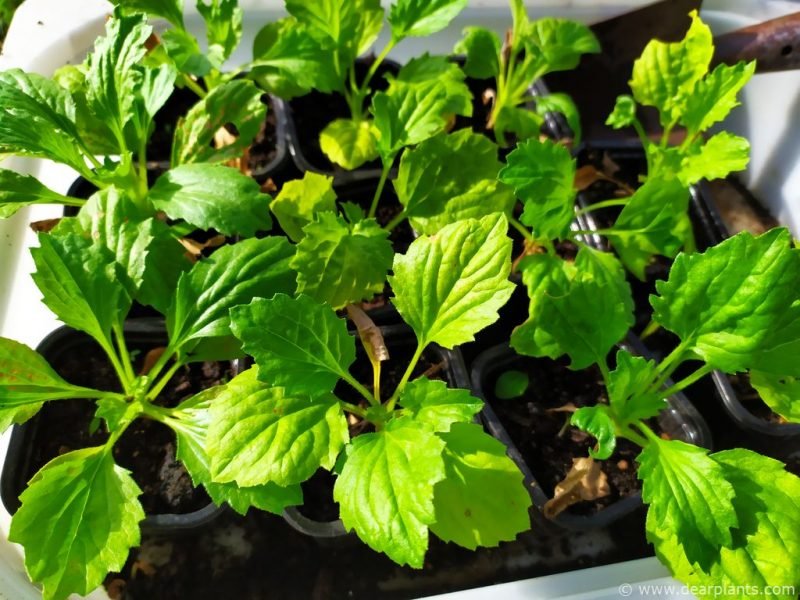
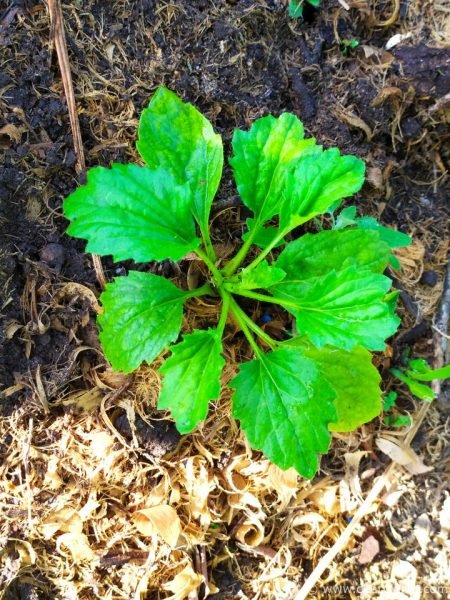
At this stage, they are mature enough to be planted outside in the garden. Take them from the pots.
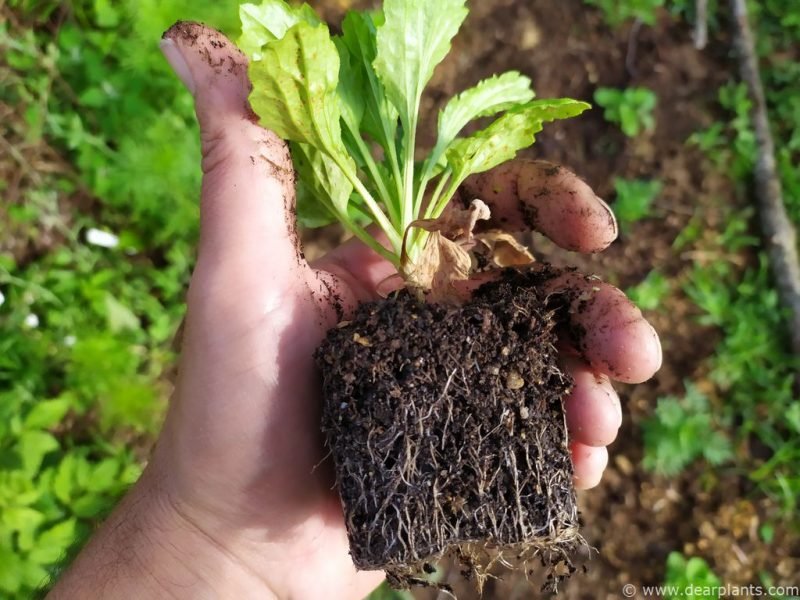
And plant as you do for any other plant. Keep watered and they will reward you with many many flowers.
Did you like our step-by-step guide to grow China Aster (Callistephus chinensis) from seed? Tell us what you like the most of this plant.