Tagging (or labeling) plants is of primordial importance in order to keep track of what you sown, what cuttings are these, what variety is this in the border, etc… labeling with common names or scientific names, you need to identify your plants.
There are many comercial available tags made of plastic, wood, metal and so on. They are not cheap (for what they are in essence) and there is a pretty easy way to get them for free.
In this DIY guide we will show how to make plant tags from recycled bottles so you can get free labels for your plants.
We are using a bleach empty bottle. We will need a knife or scissor, a scale and a pen.
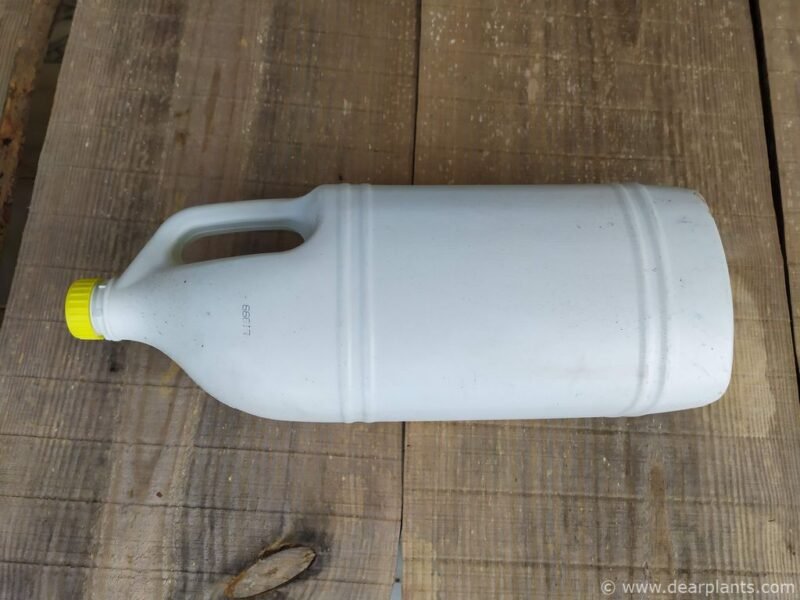
First we cut the bottle top and bottom all around as shown in the picture. This way we have a regular shape to work on.

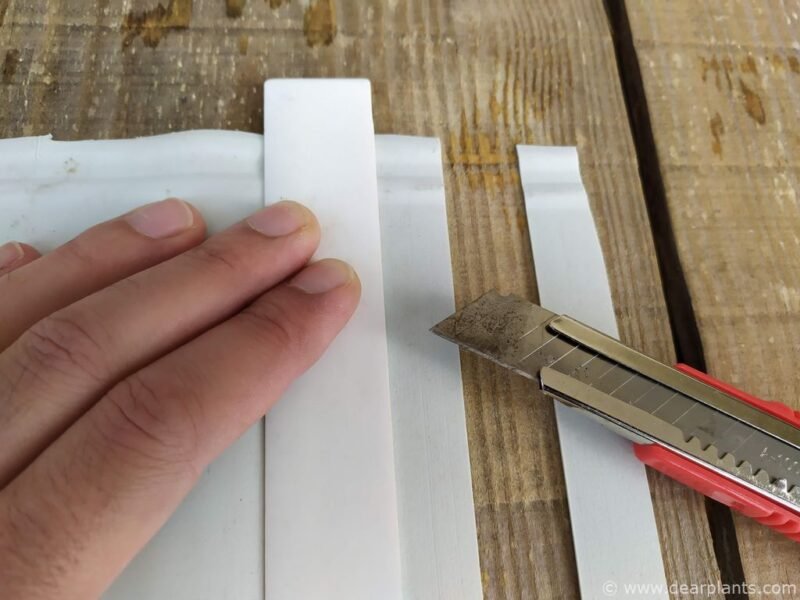
Then, cut longitudinally from the previous top to the bottom and you will get a plastic white rectangle.
Now, using the scale and a pen you can measure and mark each piece. If you want to keep it simple, just place the scale and slice the plastic in pieces.
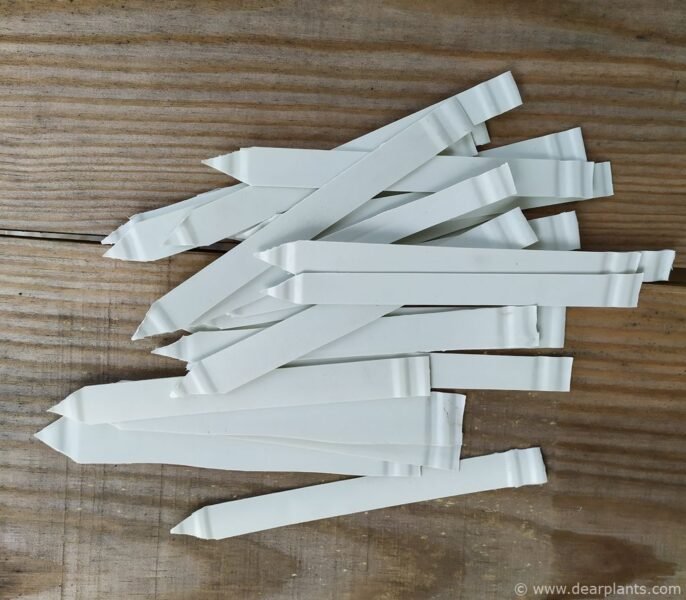
Then, using the scissor (it is easier than with the knife) cut a V shape in the end, so the label goes easily in the soil.
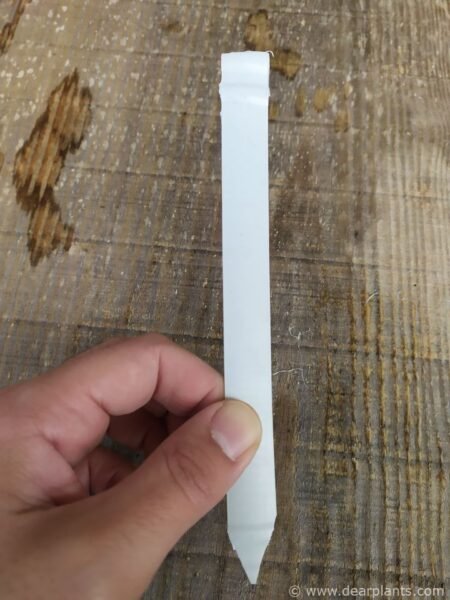
Additional tip: If you want labels to attach with a string, you can use a hole puncher and you will get a perfect hole in your tag.
We dispose the remaining plastic to the recycle bin and we got 25 new plant labels. These are going to be used in our new Dahlias that are about to be started.